Five tips for mashing home brewers

Welcome to our series on home brewing! Today we dive into the crucial process of mashing, where the magic of beer begins. Together with expert Andy Parker, we share five golden tips to enhance your brewing experience.
Introduction 🍺
Welcome to an in-depth exploration of the mashing process! This is the moment when the foundation for your beer is laid. In this section, we will delve into what mashing entails and why it is so crucial for the quality of your brew.
What is mashing? 🍻
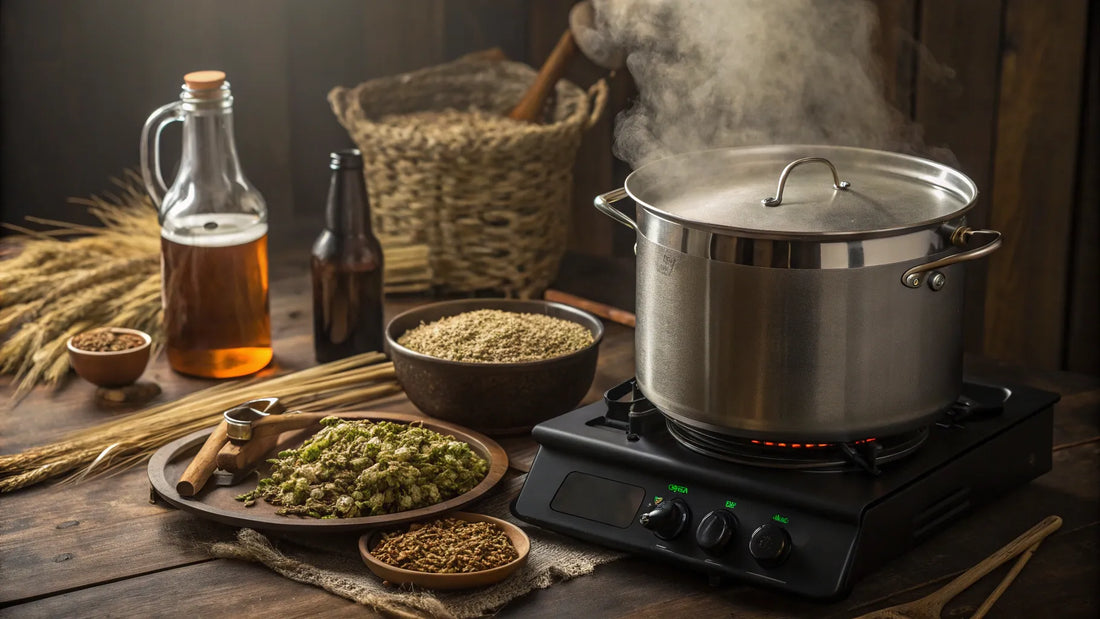
Mashing is the process in which ground grains, usually malt, are mixed with warm water. This allows enzymes in the malt to convert sugars, which is essential for fermentation. The result is a sweet liquid called wort.
- Temperature: The temperature of the water should be between 62°C and 72°C, depending on the type of beer you want to make.
- Duration: A typical mash lasts about an hour, but this can vary depending on the grains used.
- Enzyme activity: The enzymes in the malt are responsible for the conversion of starch to sugar, which is crucial for flavor and alcohol production.
Check the pH ⚗️
One of the most important factors for a successful mash is the pH value. The ideal pH is between 5.3 and 5.4. A pH that is too high or too low can negatively affect the efficiency of sugar extraction.
- Use pH strips: These are easy to use and help you to check the pH of your mash.
- Adjust if necessary: If your pH is too high, you can add a small amount of lactic acid or phosphoric acid to lower it.
- Monitor regularly: It is wise to check the pH regularly during the mashing process.
Preventing sluggish drainage 🚰
A common problem during mashing is a stuck sparge. This occurs when the liquid cannot flow properly through the crushed grains. Here are some tips to prevent this:
- Use rice bowls: These can help improve the structure of the mash and facilitate the flow.
- Check your grain size: A grind that is too fine can lead to a sticky mash. Make sure your grains have the right consistency.
- Stir the mash: A gentle stir can help break up clumps and improve flow.
The impact of the malt color 🌈
The color of the malt you use has a significant impact on the final color of your beer. It is crucial to choose the right types of malt for the desired result.
- EBC values: Check the EBC values of your malts to understand how they will affect the color of your beer.
- Variation in malts: Different producers may offer different colors of the same type of malt. Always check the specifications.
- Dark malts: These can intensify the color, so be careful with the amount you add.
Longer cooking time ⏳
A common misconception among homebrewers is that the boiling time must be strictly adhered to. In reality, a longer boiling time can offer benefits.
"If you notice that your wort does not have the desired efficiency or flavor, extending the cooking time can be a good solution. This concentrates the flavors and increases the bitterness of the hops."
- Concentration of flavors: A longer cooking time can help to concentrate the flavors of your ingredients, resulting in a richer beer.
- Enhancing hop bitterness: This is especially useful for hoppy beers, where you want to achieve more bitterness.
- Stability of the beer: A longer boiling time can also help to kill unwanted bacteria, which benefits the shelf life of your beer.
Flexibility in the process 🔄
Homebrewing is an art and not an exact science. It is important to be flexible with your methods and techniques.
"If you notice that you are not achieving the results you want, don't be afraid to make adjustments. Sometimes a small change in cooking time or temperature can make a big difference."
- Adjust your time: If you notice that your mash hasn't gone quite right, it may be useful to extend the cooking time.
- Experiment with temperatures: Try different temperatures for your mash to see what works best for your ingredients.
- Learn from every batch: Every brewing experience is an opportunity to learn. Keep notes on what works and what doesn't.
The role of barley cultivation 🌾
The quality and type of malt you use have a direct impact on the final result of your beer. Malt cultivation is a crucial factor that is often overlooked.
It is essential to understand how the different types of malt affect your brew. Each type of malt has unique properties that contribute to flavor, color, and aroma.
- Types of malts: Know the different types of malts and their properties. From base malts to specialty malts, each has a role in your recipe.
- Origin of the malt: The origin of the malt can vary in flavor and quality. Choose reliable suppliers.
- Freshness: Fresher is better. Preferably use malt that has been produced recently for optimal flavor.
The right grain size 🥄
The grain size of your milled grains is of great importance for the efficiency of the mash. A grind that is too fine can lead to problems such as a stuck sparge.
It is crucial to find the right balance between a fine grind for maximum extraction and a coarser grind to ensure good flow.
- Fine milling: This ensures better sugar extraction, but can lead to a sticky mash.
- Coarser paint: This promotes flow, but can result in lower efficiency.
- Ask for advice: Consult with your local brew shop to determine the right grain size for your equipment.
What to do with a clogged sparge? 🚫
A stuck sparge is a nightmare for any homebrewer. It can be frustrating, but there are several strategies to solve this problem.
"It is important to act quickly and not to panic. Here are some steps you can follow to get back on track."
- Stir the mash: Use a mash paddle to gently stir the mash. This can help break up clumps and improve flow.
- Add rice husks: Rice husks or barley husks can improve the structure of the mash and promote flow.
- Check the grain size: If you have too fine a grind, this could be the cause. Adjust the grind for future batches.
Dark colors in your beer 🌑
The color of your beer is one of the first things that catches people's attention. Dark beers have a rich, complex appearance, but it is important to know how to control these colors.
One of the most important factors that influence the color is the type of malt you use. Dark malts like chocolate malt or black malt can add deep colors and flavors to your beer, but they must be used with care.
- EBC values: Check the EBC values of your malts. These values indicate how dark the malt is and how this affects your beer.
- Consider the timing: Some brewers choose to add dark malts later in the process to regulate the color.
- Experiment: Try different types of dark malts to see which works best for your recipe.
Adding sugar 🍬
Adding sugar to your brew can be a great way to enhance efficiency and improve the flavor profile. Sugar can promote fermentation and increase flavor complexity.
"For example, use regular table sugar or more complex sugars like dark muscovado. These can add an extra dimension to your beer."
- Up to 10% of your grain weight: This is a safe amount to add without disturbing the balance of your beer.
- Timing: Add the sugar during the cooking phase to ensure that it dissolves and integrates well.
- Variety: Experiment with different types of sugar to add unique flavors to your brew.
Variations in the brewing process 🔄
Homebrewing is an art form that offers a lot of room for creativity. Variations in the brewing process can lead to surprising and unique results.
"It is important to be flexible in your approach. Sometimes a small change in temperature or cooking time can make a big difference in the final taste of your beer."
- Temperature: Experiment with different temperatures during mashing. This can affect enzyme activity and enhance flavor.
- Cooking time: Consider adjusting your cooking time if you are not achieving the desired efficiency or flavor.
- Document your adjustments: Keep notes of your experiments to improve future batches.
The iodine test 🧪
The iodine test is a handy way to check if your mash is progressing well. It helps you determine if there is still starch present that needs to be converted into sugar.
By taking a small amount of your mash and adding iodine solution, you can quickly see if there is still starch present.
- Interpreting results: If the solution turns blue or purple, it means that there is still starch present. If it remains brown, the conversion is complete.
- Timing: Run the test halfway through your mash to see if you are on schedule.
- Quick decisions: This can help you quickly decide whether to continue mashing or move on to the sparge.
Conclusion and questions ❓
Homebrewing offers endless possibilities for experimentation and improvement. By applying the right techniques and adjustments, you can significantly enhance the quality of your brew.
Do you have any questions or comments about the mashing process? Let us know in the comments below. We are here to help you and improve your brewing experience!
"Remember, every batch is an opportunity to learn and grow as a home brewer. So get to work and enjoy the process!"